4 minutes
JupyterLab behind Nginx Reverse Proxy
Prerequisites
This is based on the assumption on having a Virtual Machine / Cloud Instance that has the following:
- Debian 12 Server (minimal installation with SSH enabled)
- A non-root user with sudo privileges
Installing Dependencies
Update Debian package index and install required packages:
sudo apt update && sudo apt install python3 python3-pip python3-venv nodejs -y
Confirm that these have been successfully installed by running command python3 --version && pip3 --version && node --version and you will see output as below:
david@debian:~$ python3 --version && pip3 --version && node --version
Python 3.11.2
pip 23.0.1 from /usr/lib/python3/dist-packages/pip (python 3.11)
v18.13.0
Installing Jupyter
Create a Python Virtual Environment
Create a directory, a Python virtual environment and then activate it
mkdir -p ~/project && cd ~/project
python3 -m venv venv
source venv/vin/activate
Installing Jupyter
Once the Python virtual environment has been activated install the Jupyter environment via Pip and then confirm that it has been install correctly
pip3 install jupyter
which jupyter && jupyter --version
If it has been successfully installed you will get output similar to the following
(venv) david@debian:~/project$ which jupyter && jupyter --version
/home/david/project/venv/bin/jupyter
Selected Jupyter core packages...
IPython          : 8.16.1
ipykernel        : 6.25.2
ipywidgets       : 8.1.1
jupyter_client   : 8.3.1
jupyter_core     : 5.4.0
jupyter_server   : 2.7.3
jupyterlab       : 4.0.6
nbclient         : 0.8.0
nbconvert        : 7.9.2
nbformat         : 5.9.2
notebook         : 7.0.4
qtconsole        : 5.4.4
traitlets        : 5.11.2
Configuring JupyterLab
JupyterLab is the next-generation web-based user interface for the Jupyter ecosystem. With JupyterLab, you can work with documents, and activities such as Jupyter Notebook, text editor, and terminal in one window. The JupyterLab offers an IDE-like experience for managing and developing Jupyter projects.
First, we need to configure the Jupyter Server and secure the installation
jupyter server --generate-config
jupyter server password
You can verify the content of the Jupyter Server configuration using the following command
jupyter server --show-config
Next, generate a new configuration for JupyterLab and assign an IP Address
Make sure to change the IP address to the one that is being used on your server
jupyter lab --generate-config
jupyter lab --show-config
jupyter lab --ip 1.1.1.1
The Jupyter Lab will be running on the assigned IP address with the default Port 8888 and is accessible via /lab path
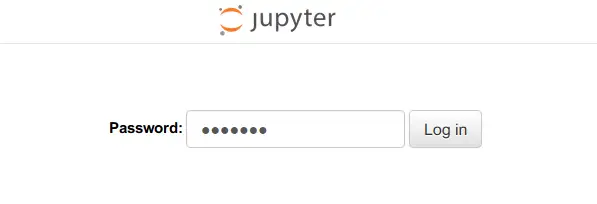
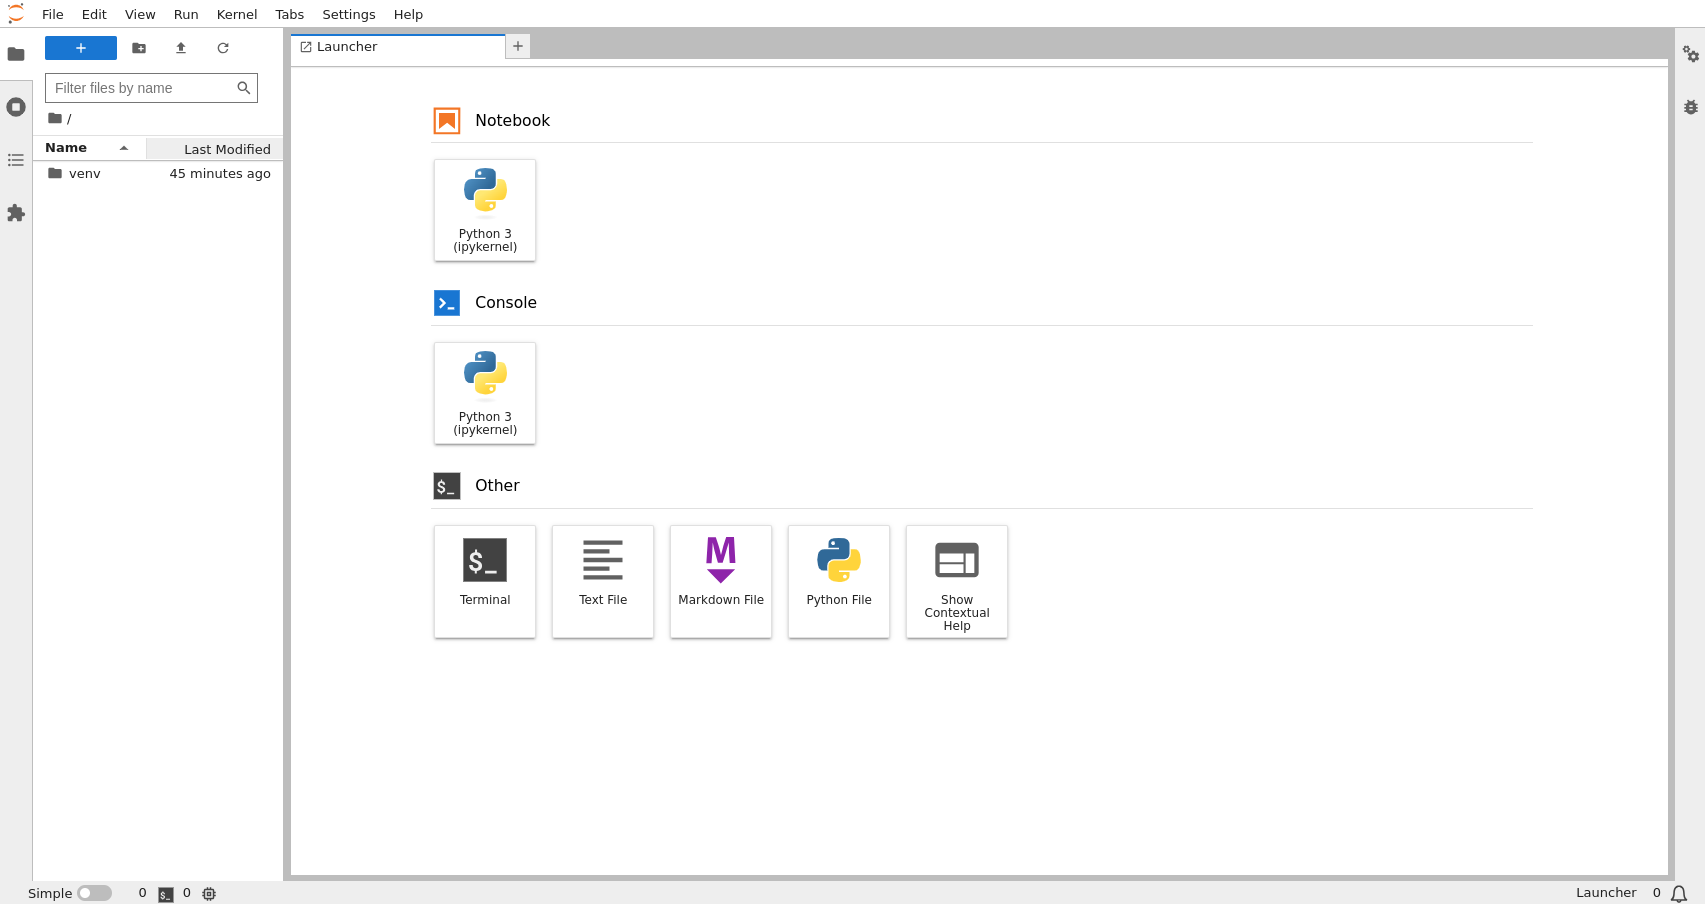
Once you have entered the correct password you will see the default landing page
Running JupyterLab as a Systemd Service
Create a new systemd service file in /etc/systemd/system/jupyterlab.service using your preferred editor with the following content
Ensure that you change the username from david to the username of the account that you are using
[Unit]
Description=JupyterLab Service

[Service]
Type=simple
PIDFile=/run/jupyter.pid
ExecStart=/home/david/project/venv/bin/jupyter lab --config=/home/david/.jupyter/jupyter_lab_config.py
User=david
Group=david
WorkingDirectory=/home/david/project
Restart=always
RestartSec=10

[Install]
WantedBy=multi-user.target
Reload the systemd manager to apply the changes and then load the service
sudo systemctl daemon-reload
sudo systemctl enable jupyterlab --now
sudo systemctl status jupyterlab
Check the output to see that the service is running which should like below
Press RETURN to continue
● jupyterlab.service - JupyterLab Service
     Loaded: loaded (/etc/systemd/system/jupyterlab.service; enabled; preset: enabled)
     Active: active (running) since Wed 2023-10-11 11:46:28 PST; 43min ago
   Main PID: 4690 (jupyter-lab)
      Tasks: 3 (limit: 4603)
     Memory: 79.2M
        CPU: 2.381s
     CGroup: /system.slice/jupyterlab.service
             └─4690 /home/david/project/venv/bin/python3 /home/david/project/venv/bin/jupyter-lab --config=/home/david/.jupyter/jupyter_lab_config.py
Configure Nginx as a Reverse Proxy for Jupyter
Allow Remote Access to JupyterLab
By default JupyterLab is only accessible via a Local IP address. To allow remote connection the default configuration must be modified. Modify ~/.jupyter/jupyter_lab_config.py and uncomment and modify the following line to the following
c.ServerApp.allow_remote_access = True
Once this has been modified, restart the JupyterLab Service by running sudo systemctl restart jupyterlab.service
When you restart the service you will see a token in the URL, make a copy of this as you will need it later
Install and Configure Nginx as a Reverse Proxy
Install Nginx
sudo apt install nginx -y
After Nginx is installed, create a server block configuration in /etc/nginx/sites/available/jupyterlab using your preferred editor running with sudo privileges
Insert the following configuration ensuring to change the domain name
server {
    listen 80;
    server_name jupyterlab.vmdomain.io;

    access_log /var/log/nginx/vmdomain.io.access.log;
    error_log /var/log/nginx/vmdomain.io.error.log;

    location / {
        proxy_pass http://127.0.0.1:8888;
        proxy_set_header X-Forwarded-For $proxy_add_x_forwarded_for;
        proxy_set_header X-Real-IP $remote_addr;
        proxy_set_header Host $http_host;
        proxy_http_version 1.1;
        proxy_redirect off;
        proxy_buffering off;
        proxy_set_header Upgrade $http_upgrade;
        proxy_set_header Connection "upgrade";
        proxy_read_timeout 86400;
    }
}
Run the following command to activate the server block and verify the Nginx Configuration
sudo ln -s /etc/nginx/sites-available/jupyterlab /etc/nginx/sites-enabled/
sudo nginx -t
You should receive the following output if the configuration is successful
nginx: the configuration file /etc/nginx/nginx.conf syntax is ok
nginx: configuration file /etc/nginx/nginx.conf test is successful
Once you have confirmed that the configuration file is ok, restart Nginx and verify that the service started correctly
sudo systemctl restart nginx
sudo systemctl status nginx
Access JupyterLab via Local Machine
Modify the /etc/hosts file to include the IP Address and FQDN
1.1.1.1 jupyterlab.vmdomain.io
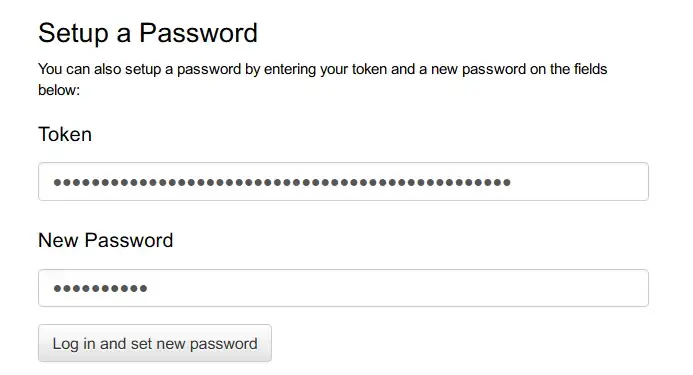
Next, open a Web Browser and navigate to your JupyterLab installation http://jupyterlab.vmdomain.io and you will get a login page. Go to the bottom and you will enter the token you got earlier and you can also set a new password
You will then be taken to the dashboard and the installation is complete.